Running WASP as a Windows Service
In the last tutorial I showed you how to run WASP as a normal command line executable. This can be useful for testing and development and also for debugging but when you want to run WASP on a production machine you probably want to run it as a Windows Service.
Running as a Windows Service has the advantage that you don’t need a user logged in to the machine to run WASP, you can also control it remotely using the Windows Service Control Manager application.
To run WASP as a service you first need to install it as a service.
Installing WASP as a service is pretty simple. Run WASP with the /install command line switch and, assuming you have the appropriate access rights you’ll see a message box that informs you that the service is installed. If you don’t have the appropriate rights then you’ll get a dialog box which asks if you want to retry the installation with elevated credentials.
Once WASP is installed as a service you can manipulate it from the Computer Management app (right click on Computer and select ‘manage’).
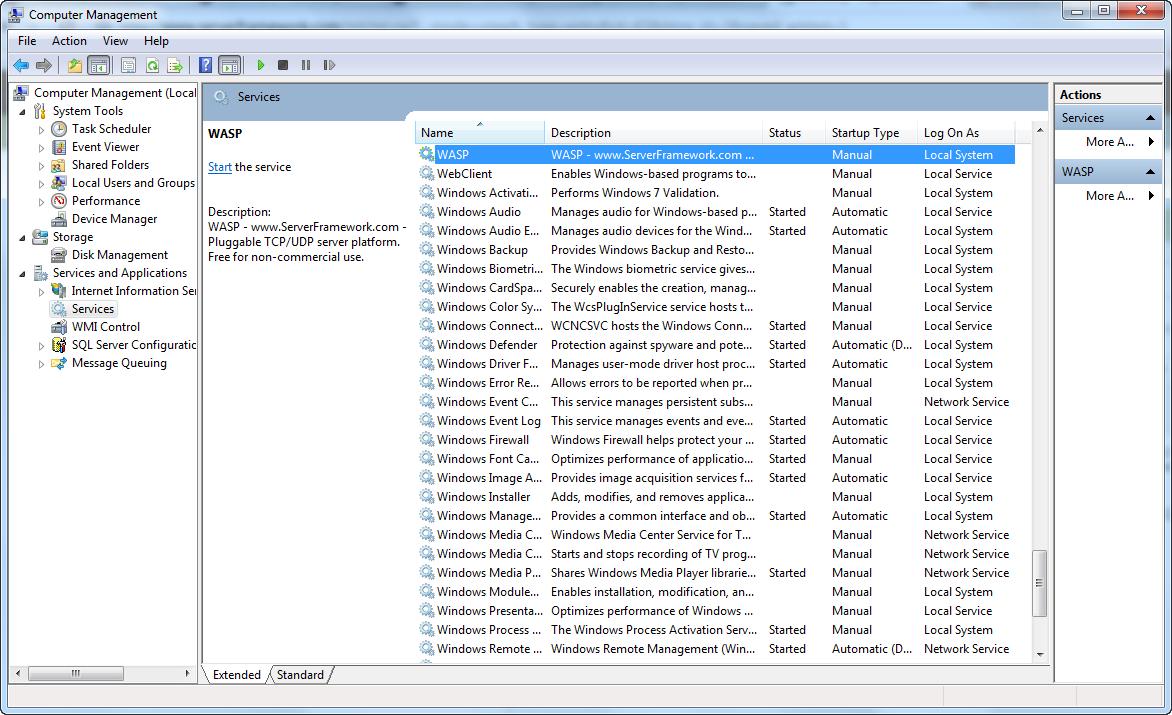
Computer Management, WASP Service
Before you start the service you might want to change where the configuration file is read from and where the log files are written to. The config file location for a service is read from the registry. For the service we’ve just installed the registry location for the config file path is HKEY_LOCAL_MACHINE\SYSTEM\CurrentControlSet\services\WASP\Config, by default the ConfigurationFilePath key holds the path to the WASP executable when you installed it, this is usually correct, but you can change it if you want to.** **By defaut the log file is written to a subdirectory of the config file path called log, however you can change this if you want by adding a LogFileLocation value to the config file.
<?xml version="1.0" encoding="Windows-1252"?>
<Configuration>
  <WASP
    LogFileLocation="C:\MyWASPLogDir">
    <TCP>
      <Endpoints>
        <EndPoint
          Name="Echo Server"
          Port="5050"
          HandlerDLL="[CONFIG]\EchoServer.dll">
        </EndPoint>
      </Endpoints>
    </TCP>
  </WASP>
</Configuration>
As with handler DLL paths you can use [CONFIG] to refer to the config file path if you want, the default value for LogFileLocation if it isn’t specified is "[CONFIG]\log".
By default WASP is installed as a service which runs as Local System and has a Manual start up type, you can change these using the Computer Management app as normal. Likewise you can control the service by starting, pausing, resuming and stopping it from the Computer Management app.
WASP supports running multiple instances as separate services, this gives you a level of isolation between endpoints as they can be run in separate processes. At present WASP supports a limited number of instances. Instances generally have names although you can install a single instance of WASP without specifying a name as we have done above (the instance name is actually just defaulted to WASP in this case).
To install a second instance you need to specify a unique name. You can install a second instance by running WASP with /install name where name is the name of the instance. In the following examples I’ll use Instance2 as the name, so to install it we run WASP from the command line with /install Instance2 as the command line parameters.
Once the second instance is installed you’ll see the two instances in the Computer Management app:
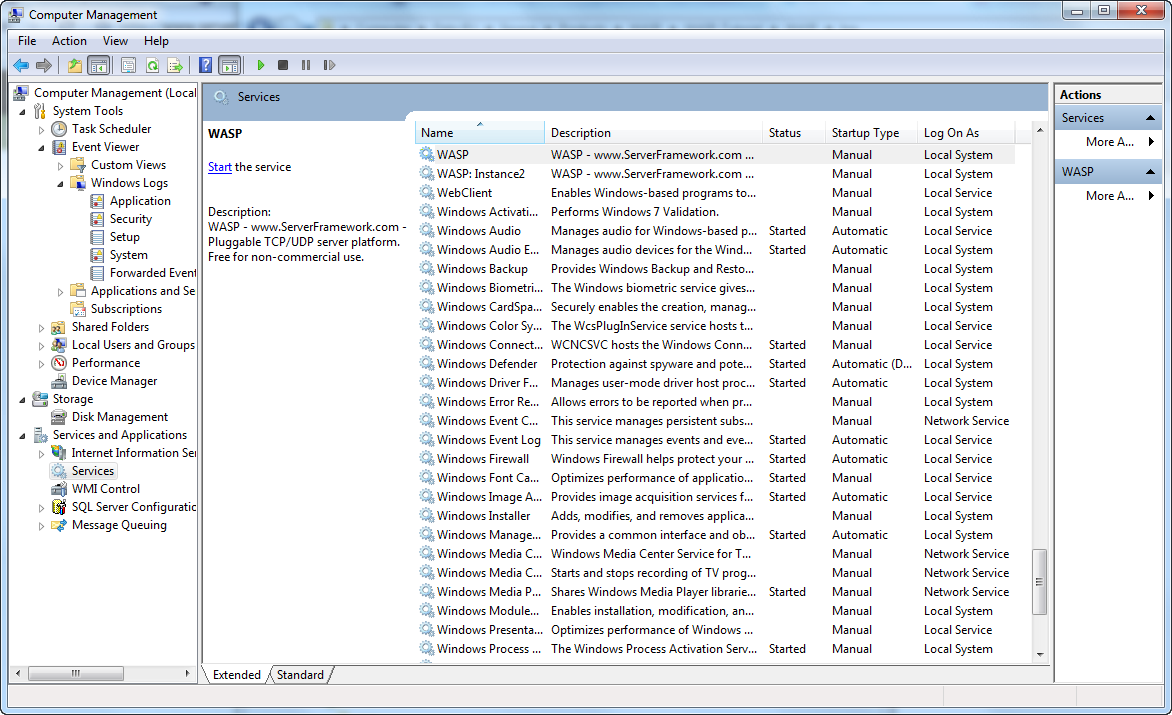
Computer Management, WASP Service - 2
You can configure and control each instance separately. The registry key for the configuration file path is HKEY_LOCAL_MACHINE\SYSTEM\CurrentControlSet\services\WASP: Instance2\Config and this can point to a separate config file or to the same file as another instance. If you decide to have instances share a config file then each instance has its own configuration node. The file that we used for a single instance above could be adjusted to configure our new instance as well, like this:
<?xml version="1.0" encoding="Windows-1252"?>
<Configuration>
  <WASP
    LogFileLocation="C:\MyWASPLogDir">
    <TCP>
      <Endpoints>
        <EndPoint
          Name="Echo Server"
          Port="5050"
          HandlerDLL="[CONFIG]\EchoServer.dll">
        </EndPoint>
      </Endpoints>
    </TCP>
  </WASP>
  <Instance2>
    <TCP>
      <Endpoints>
        <EndPoint
          Name="Echo Server"
          Port="5051"
          HandlerDLL="[CONFIG]\EchoServer.dll">
        </EndPoint>
      </Endpoints>
    </TCP>
  </Instance2>
</Configuration>
Note that in the config files shown so far the default instance name of WASP is used for the configuration node, if you had installed two named instances rather than a default instance and Instance2 then the WASP node in the config file above would be replaced by a node with the name of the other instance.
Log file names for a named instance will include the instance name in the log file name.